Physical Address
304 North Cardinal St.
Dorchester Center, MA 02124
Physical Address
304 North Cardinal St.
Dorchester Center, MA 02124
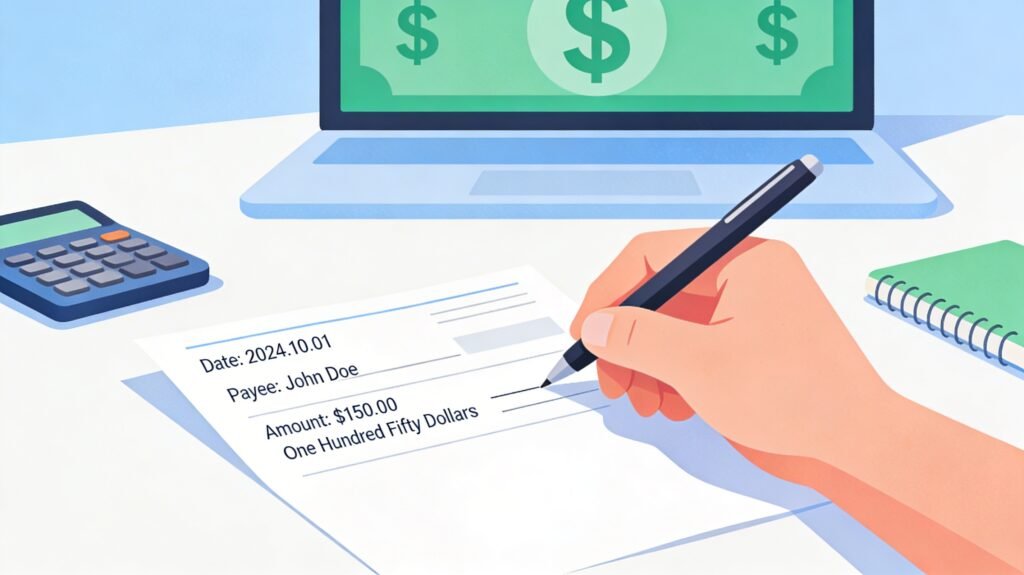
Even in a world of digital payments, checks are still used for rent, school fees, government payments, contractors, gifts, and other personal transactions. If you have never written one before, it can look confusing at first. The good news is that learning how to write a check is simple once you understand each section and the order to fill it out.
A check has a few important parts. At the top right, you write the date. In the center, there is a line for the name of the person or business you are paying. Next to that is a small box where you write the amount in numbers. Below it is a longer line where you write the amount in words. At the bottom left is the memo line, and at the bottom right is the signature line. The numbers printed along the bottom are your routing number, account number, and check number, which are already provided by the bank.
The first step is to write the date. This should usually be the current date, such as March 13, 2026, or 3/13/2026. The date creates a record of when the payment was authorized. Some people use future dates, called postdating, but banks may still process the check early, so it is usually safest to use the actual date.
The second step is to write the payee’s name on the line that says “Pay to the Order of.” This is the person or business receiving the payment. Be sure to spell the name correctly and write clearly. If the name is wrong, the person may have trouble depositing or cashing the check.
The third step is to write the amount in numbers inside the small box. For example, if you are paying one hundred twenty-five dollars and seventy-five cents, write 125.75. Always include dollars and cents clearly to avoid confusion.
The fourth step is to write the amount in words on the long line below. This is very important because if the written amount and the number amount do not match, banks usually follow the written amount. For 125.75, you would write: One hundred twenty-five and 75/100. After that, draw a line through the rest of the blank space to prevent changes.
The fifth step is the memo line. This part is optional, but it is smart to use it. You can write what the payment is for, such as “Rent for March,” “Electric bill,” or “Invoice #204.” This helps both you and the recipient keep track of the payment.
The final step is to sign the check on the bottom right line. Without your signature, the check is not valid. Use the same signature your bank has on file, and never sign a blank check.
A few simple habits can help you avoid mistakes. Use blue or black ink, write neatly, make sure the amount in numbers matches the amount in words, and do not leave large blank spaces. If you make a major mistake, it is better to void the check and start over.
Writing a check is still a useful skill. Once you learn the basic steps—date, payee, amount in numbers, amount in words, memo, and signature—it becomes quick and easy. A correctly written check helps your payment go through smoothly and gives you a clear record of the transaction.